Decorative stitches are fun, but some of them are long and straight, or they leave some of the canvas open to the world, making it difficult to secure your thread ends.
If you have similarly colored Tent, or other densely packed, stitches nearby you can use these to bury your threads. But, often this isn't the case, so here are a couple of techniques to keep your threads secure when they're flying solo.
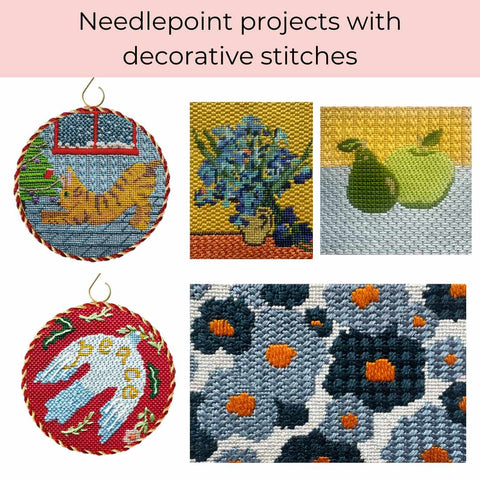
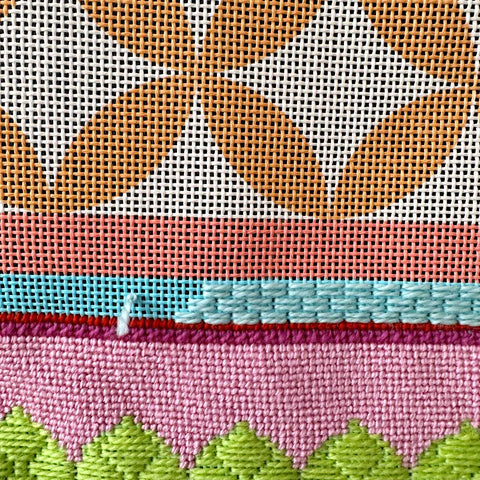
Let’s use a canvas as an example…
The needlepoint canvas above uses several decorative stitches that are notoriously difficult to secure because they create long stitches on the back—from which thread ends will disentangle themselves.
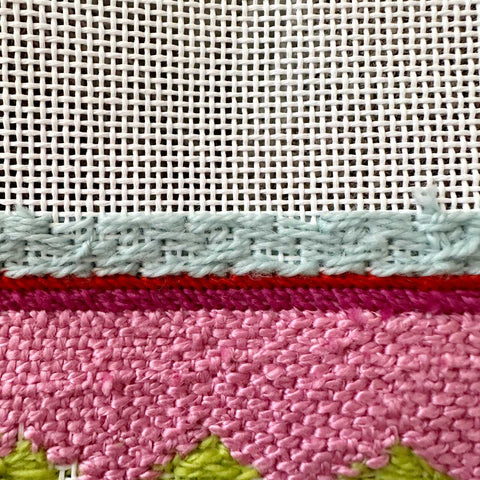
The image above shows the reverse of the canvas and you can see the pale blue Double Brick stitch leaves long stitches on the reverse. How to secure these thread ends?
You could bury them under the adjacent more tightly packed stitches, but this is not an ideal solution because of the contrast of the pale blue thread with the darker colors—it may show through on the front.
Behold, the...
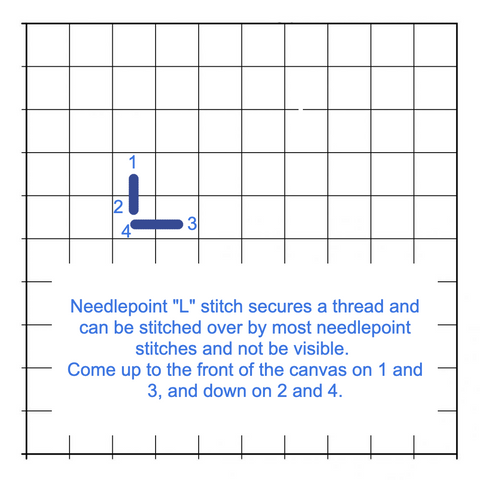
Needlepoint L-Stitch Savior
The needlepoint L Stitch shines when you're using long and/or diagonal stitches. Here's how:
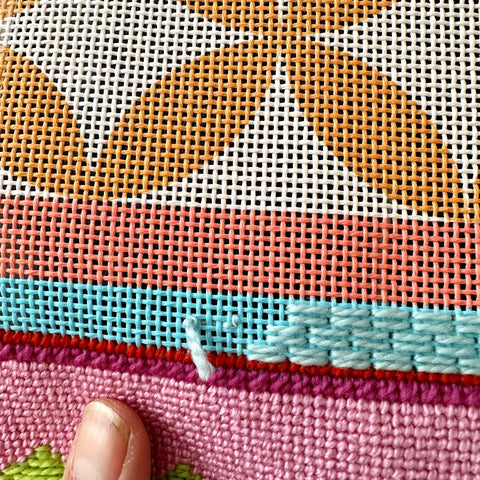
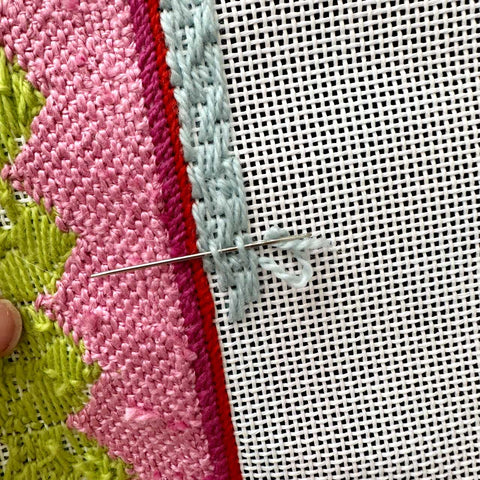
With your needle threaded and a Waste Knot tied at one end, insert it a few holes further along from where you want to start stitching (you will snip the knot off like any Waste Knot). You can see the Waste Knot on this canvas...
Next we place the L Stitch between the Waste Knot and where we will begin stitching (NB: we reversed the direction of the L Stitch and it doesn't matter which way you do it).
Now, stitch up to and cover the L Stitch (in this case with Double Brick stitches) and when you get to the Waste Knot, snip it off.
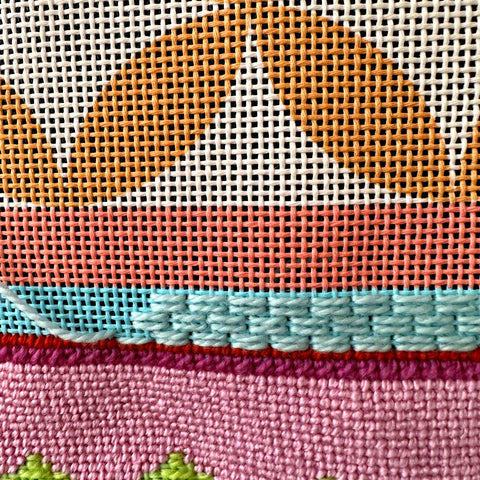
The Brick Stitches have covered the secure L Stitch, as will almost any decorative or open needlepoint stitch. See the image below; you wouldn't know an L Stitch lies beneath the stitches, and the thread ends are secure and invisible.
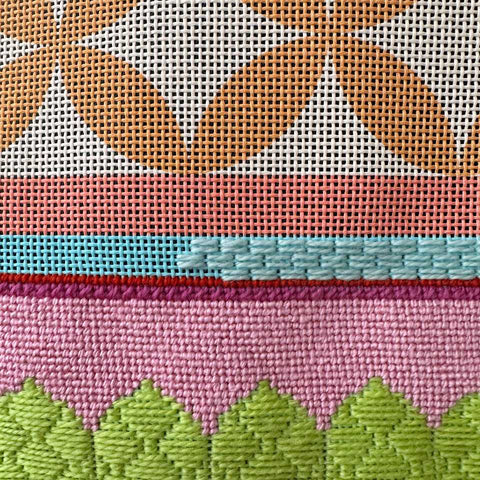
Another option for starting or finishing a thread in these situations is to weave the thread ends. We have done this here on the reverse of some orange Gobelin stitches...
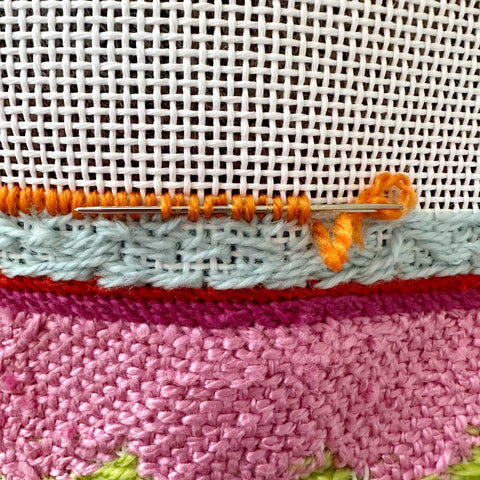
If your decorative stitches provide good coverage on the back, simply weave the needle under and over nearby stitches of the same or similar color.
You can also use a modification of this weaving technique if the stitches don't provide good coverage by using what is referred to as a Bargello Tuck. In this situation, weave in one direction and then do a half or quarter turn and weave again. This method is shown here on the reverse of the blue Double Brick stitches. We have woven on one direction...

And then reversed and woven in the opposite direction. Do not pull tightly because you will alter the stitch tension and angle of the stitches on the front.
With these tips you can confidently tackle those lone thread ends and keep your needlepoint project looking its best!
Happy Stitching!
Find your next Poppy Monk value-for-money needlepoint kit project with decorative stitches and practice these techniques...